


|
|
|
|
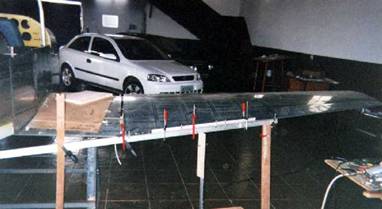
Photo 19 Photo 19 - Wing aileron and trailing edge alignment. Some "C" clamps and an aluminum rule were used , in order to prevent a wavy finish.
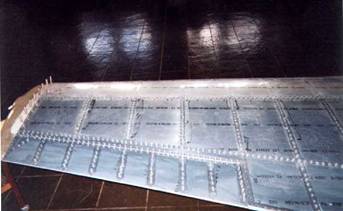
Photo 20 Photo 20 - Completed wings! Look at the perfect adjustment between the aileron and the wing. It´s difficult to see the piano hinge. It looks like an glider aileron! Perfect!
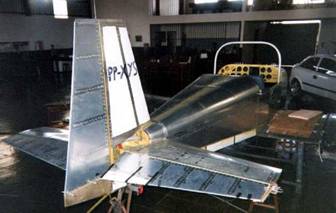
Photo 21 Photo 21 - Riveted empennage and tailcone.
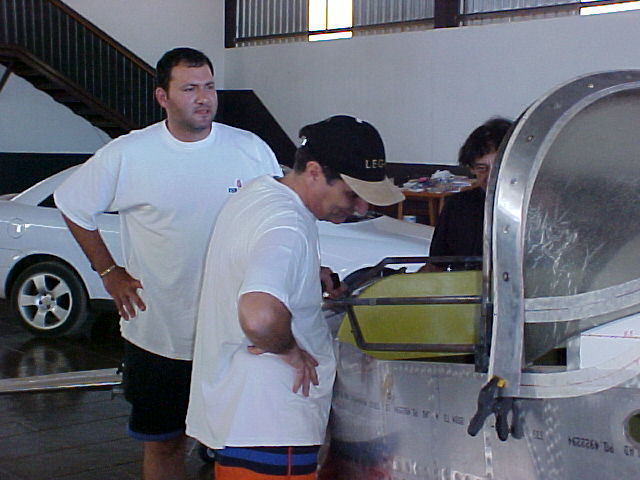
Photo 22 Photo 22 - Windshield adjustment. Its height was determined with seats in tracks, in order to adjust the canopy height over my head.
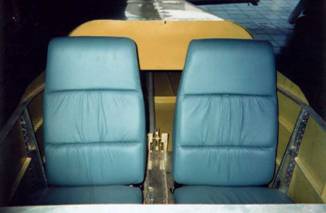
Photo 23 Photo 23 - The leather Piper seats on tracks, with sewing desing Beech Bonanza style.
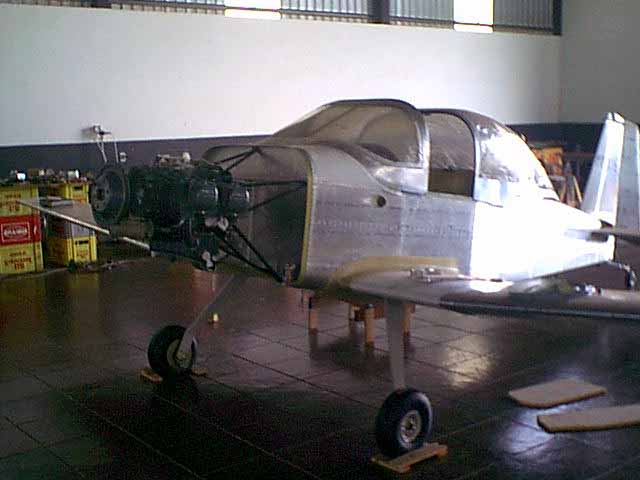
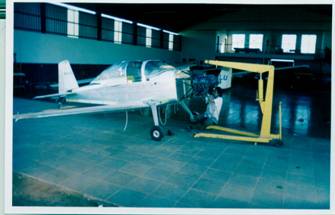
Photo 24 Photo 24 - Airplane on the gear, with adjusted engine mount and windshield
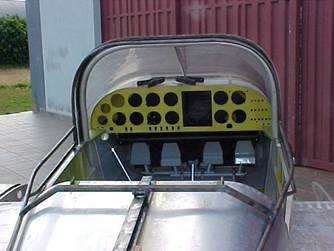
Photo 25 Photo 25 - Cockpit show. The rudder pedals, sticks and flap handle are installed. Note the beginning of canopy welding work and its central track.
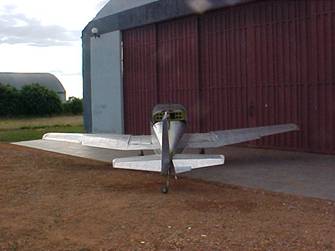
Photo 26 Photo 26 - First XYS "roll out".
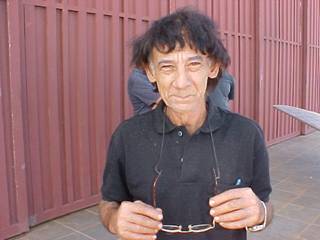
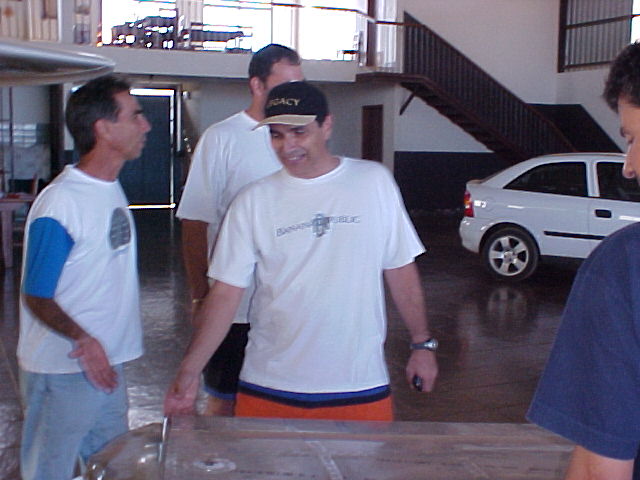
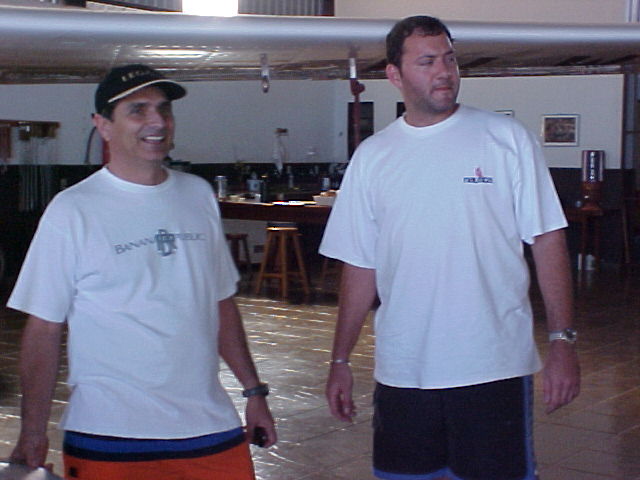
Photo 27 Photo 27 - Conrado de Pinho, "Kiko" nicknamed (he looks like Dustin Hoffman). Natural of Birigui, city that made greats A & P sheetmetal mechanics. He is the main responsible for this excellent Mustang II quality.
Photo 28 Photo 28 - The canopy height was determined by my seated position height.
Photo 29 Photo 29 - Another angle of canopy construction.
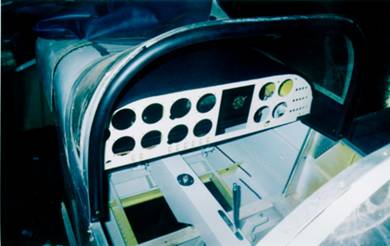
Photo 30 Photo 30 - Powder coated panel, the fuel selector valve and the panel fabric cover in place.
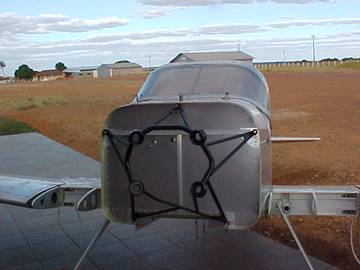
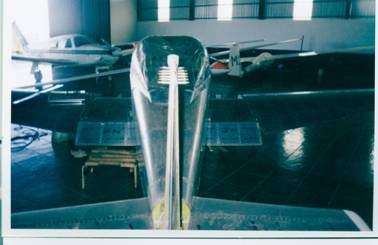
Photo 31 Photo 31 - Rear view from the empennage. Note the Thorp T-18 canopy and the ventral one piece flap (it will not give me asymmetry, of course)
Photo 32 Photo 32 - Lycoming IO-360 Installation.
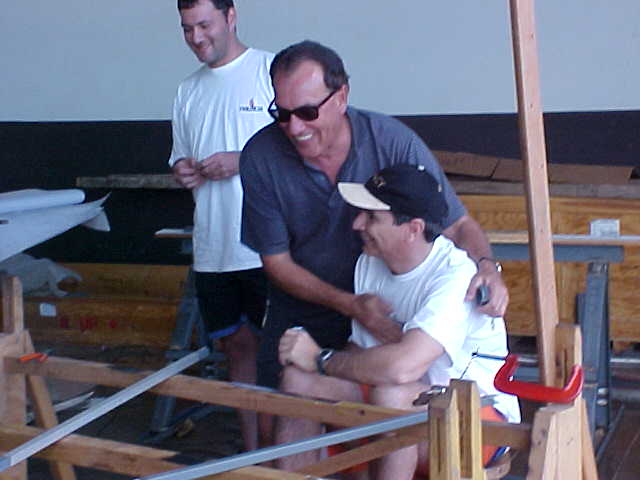
An illustrious visitor, the three time Formula One World Champion Nelson Piquet , an aviation´s fan, that gave me great moral support in this project.
Nelson and my dad Eduardo
CONTINUES IN Pics 3
|